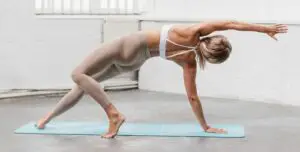
If you’re active and enjoy sports like tennis, weight lifting, or golf, then you know that your shoulders receive a good workout. If you’re sitting at the desk all day long, writing or driving the car for hours is your daily activity – you have noticed that your shoulders tend to bend forward.
With your arms in constant motion in these and other activities, not only will they build endurance, but they also grow stiff and tight. A good stretch routine for your shoulder region is always a good idea.
The following are yoga-inspired postures and stretches that will effectively help you enhance mobility and flexibility in your shoulders and open up your chest and back:
Puppy Pose (Uttana Shishosana),
Shoulder Twist,
Criss-Cross,
Arms Overhead,
Interlace Fingers Behind Back,
Eagle Pose Arms.
If your shoulders are experiencing tightness, you may want to focus on poses that target the shoulders and complementary body parts.
Puppy Pose (Uttana Shishosana)
Puppy Pose is a variation of Child Pose (Balasana). Due to the nature of the posture, you will feel more of a stretch in your shoulders, particularly the rear (posterior) deltoids.
- Start by coming to a tabletop posture – your hands and knees on the mat. Your hips will initially be aligned over your knees, while your shoulders are directly over your wrists.
- Step your hands forward and allow your chest to sink down toward the floor slowly. Take your time with this transition; gauge the intensity of sensation in the back portion of your shoulders. As you are able, keep your hips aligned over your knees. Create a reaching feeling with your arms out toward the front edge of your yoga mat.
- Hold the posture and take ten slow, deep breaths once you have come to the desired intensity in your rear deltoids. This is to ensure a good release of the tight muscle region.
The puppy pose will also affect your chest. Your pectoral muscles will also receive a nice stretch as you hold this variation of Child Pose.
Shoulder Twist
If you find yourself sitting at a desk for long periods of time writing or typing on a computer, your shoulders tend to hunch forward. If you’re a long-distance driver or like to ride bikes, the same thing can happen to your posture. This may develop into stiff muscles and ligaments that join the pecs and shoulders together. A stretch like this next one should be helpful.
- Begin this posture by lying on your stomach.
- Extend your left arm out to the side so that it is perpendicular to the rest of your body.
- Place your right hand under your shoulder. Slowly press your right hand into the floor and carefully roll onto your left side. You will immediately feel the stretch in your left shoulder region.
- As in the previous posture (Puppy Pose), gauge the intensity of this stretch. For more sensation, continue to roll onto your side. For less feeling, guide your torso more toward the floor. Hold the position for ten slow breaths once you have found the proper sensation.
If you need more stability in this particular stretch, lift your right leg, bend your knee, turn your knee toward the ceiling, then set your foot down behind your extended left leg on the floor. This will provide some balance so you can easily hold this posture.
If the angle of your left arm does not seem conducive to this stretch, you may want to adjust it. Rather than extending your left arm directly out to the side, change the angle by bringing it down toward the side of your body.
Once you have completed the stretch and deep breaths on this first side, repeat the position on the other shoulder.
Criss-Cross
This next shoulder stretch returns the focus to your rear deltoids. This position will also have a positive effect on the side (lateral) portion of your shoulders in addition to your upper back.
- Lie on your belly to begin this posture.
- Prop yourself up on your elbows and forearms.
- Align yourself so that your arms are parallel to one another and your shoulders will be directly over your elbows. You will resemble the Sphinx asana in this initial position.
- Next, swing your left arm toward your right elbow. (Your fingers will point to that elbow.)
- Do the same with your right arm; swing that arm toward your left elbow. It will lie in front of the left arm.
- Reaching with your fingers, extend your arms outward, creating a “criss-cross” effect with your limbs.
As you guide yourself into this position, you will notice the stretch in your shoulders. Pause when you have reached the desired intensity of the stretch and take ten slow deep breaths. When you are done with one side, you will want to cross the arms in the opposite direction (left arm in front of the right arm) to create a balance in this muscle release.
Arms Overhead
This particular exercise targets the rear and side deltoids. These are the small muscle groupings of the shoulders that are affected by this active stretch.
- While sitting upright with a lengthened spine, raise both arms into the air.
- Bend your arms and grab hold of the opposite elbows with your hands. Notice the crossing of your arms while in this position.
- After you have held the pose for some time, you will switch your arms, crossing them the other way.
- Hold your arms in this position for at least ten slow, deep breaths. Notice the sensations in your shoulders.
When you are complete, unbind your arms. You can bring them down by your side to relax for a few moments. Then practice the stretch again with the switched hand-hold on your elbows.
Interlace Fingers Behind Back
Come to a standing position or make your way to a seated position on the floor. You will need room behind you.
- With your spine well lengthened, reach your arms behind you.
- If you’re able, interlace your fingers. If you are unable to do so, you can simply reach back with active arms and hands.
- Your shoulders naturally roll back to open the front deltoids in this position. This part of the shoulder ties into the pectoral muscles. These muscles become very tight in a hunched-over posture, like driving a car or typing on a computer. By holding your arms behind you, these muscles stretch to release the binds that tighten this area.
- Hold the posture for ten deep breaths to effectively open up your shoulders and improve your posture. When you are complete, let your arms hang down by your side to relax.
Eagle Pose Arms
This yoga pose can be done seated or standing and is very useful for releasing shoulder tension. This is commonly practiced as a standing balancing posture, but since there are arm gestures in this pose, you can do it while sitting to focus on your arms.
- Start by extending both arms into the air.
- Slowly bring your arms down in front of you, cross your left arm behind your right arm at your elbows. This will form an X-shape.
- While keeping your arms crossed, bend your elbows to raise your hands.
- As you are able, intertwine your arms, wrapping them around each other and interlace your fingers. It is okay if you are not able to wrap your arms. In both cases, your elbows will be lifted and pointing forward. This will create a stretch sensation in your upper back and your rear deltoids.
- Lift your elbows a bit until they are on the same level as your shoulders.
- Hold the Eagle Arm posture for ten slow, deep breaths.
You will need to do this on the other side for balance. When complete, allow your arms to rest down by your side. Then practice the pose on the other side; start with your right arm crossed behind your left arm.
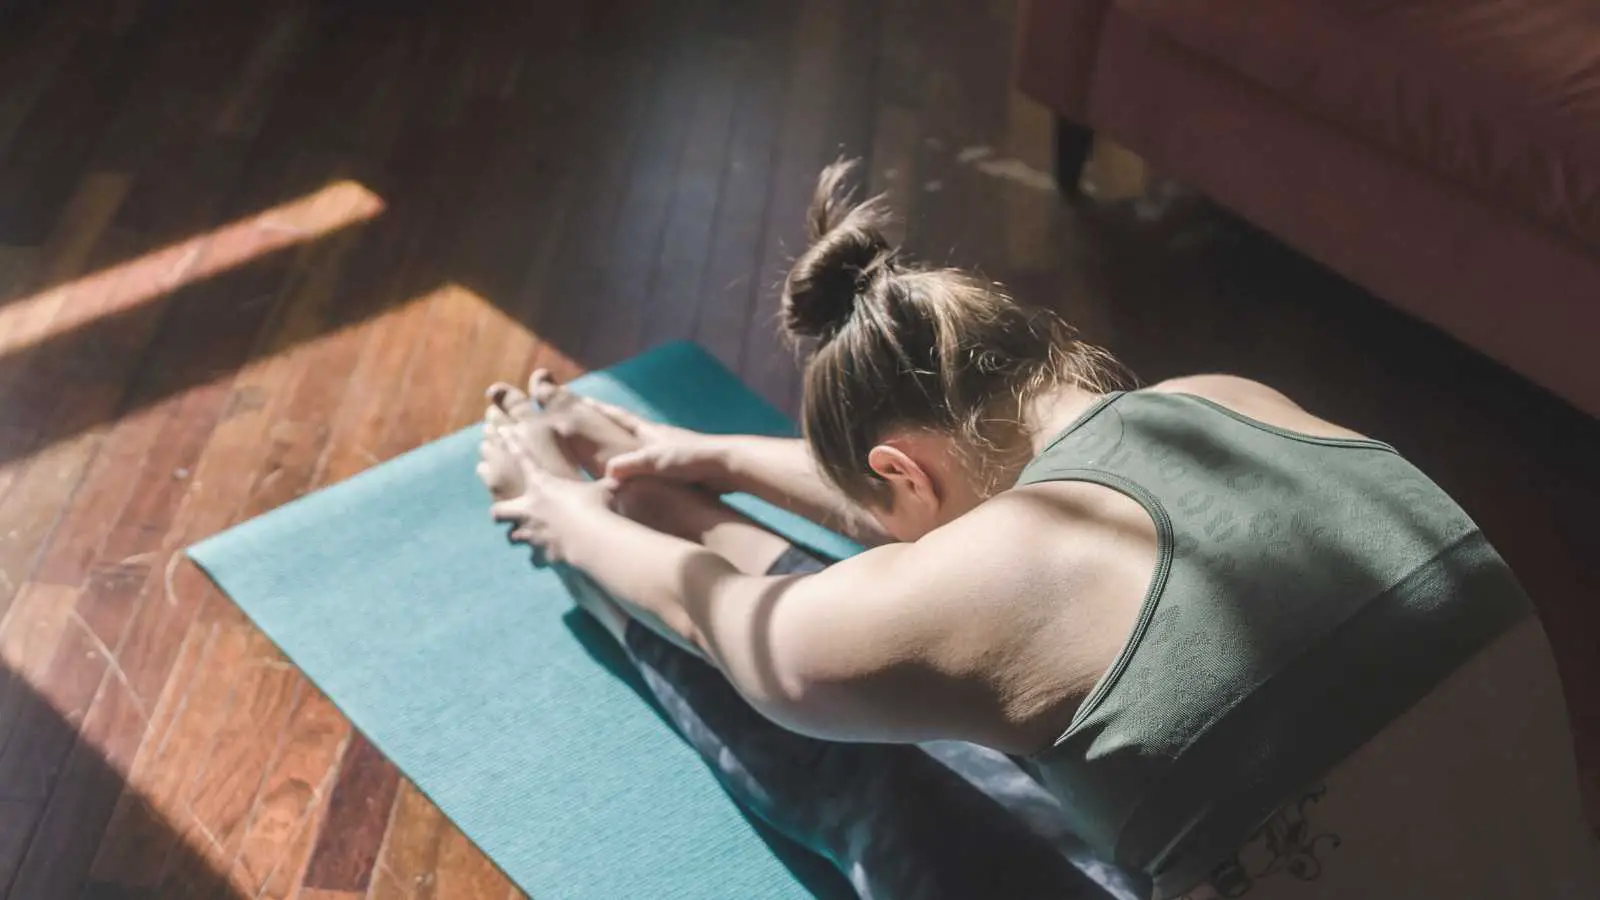
Useful tips
As with many exercises that involve a stretch quality, it is important to hold them for an extended period of time. You want to send a signal to these tight muscle areas that this is an opportunity for release.
The muscle fibers in their held stretched position can effectively open up. Your shoulders, therefore, will have greater mobility and overall functionality when you practice these yoga postures.