If you are new to backbends, the Sphinx Pose is the perfect starting point; this gentle pose can yield great benefits and allow you to start working towards a more flexible and nurtured spine. At the same time, it is crucial to incorporate the Sphinx Pose into your practice correctly to avoid injuries. But how many times should you do the Sphinx Pose?
You should do the Sphinx Pose 2-5 times as a gentle backbend and hold it for 5-10 breaths before releasing your torso. You can also practice it as part of an arm-strengthening vinyasa from the Dolphin Pose to Sphinx. Repeat the sequence 5-10 times. Be cautious if you are dealing with elbow injuries.
Check out all you need to know about the Sphinx Pose, how to introduce it into your yoga flow, and its benefits in the sections below.
Sphinx Pose: An Overview
The Sphinx Pose, or Salamba Bhujangasana in Sanskrit, is an excellent introduction to backbends for beginner yogis, but it can also offer benefits to more expert practitioners.
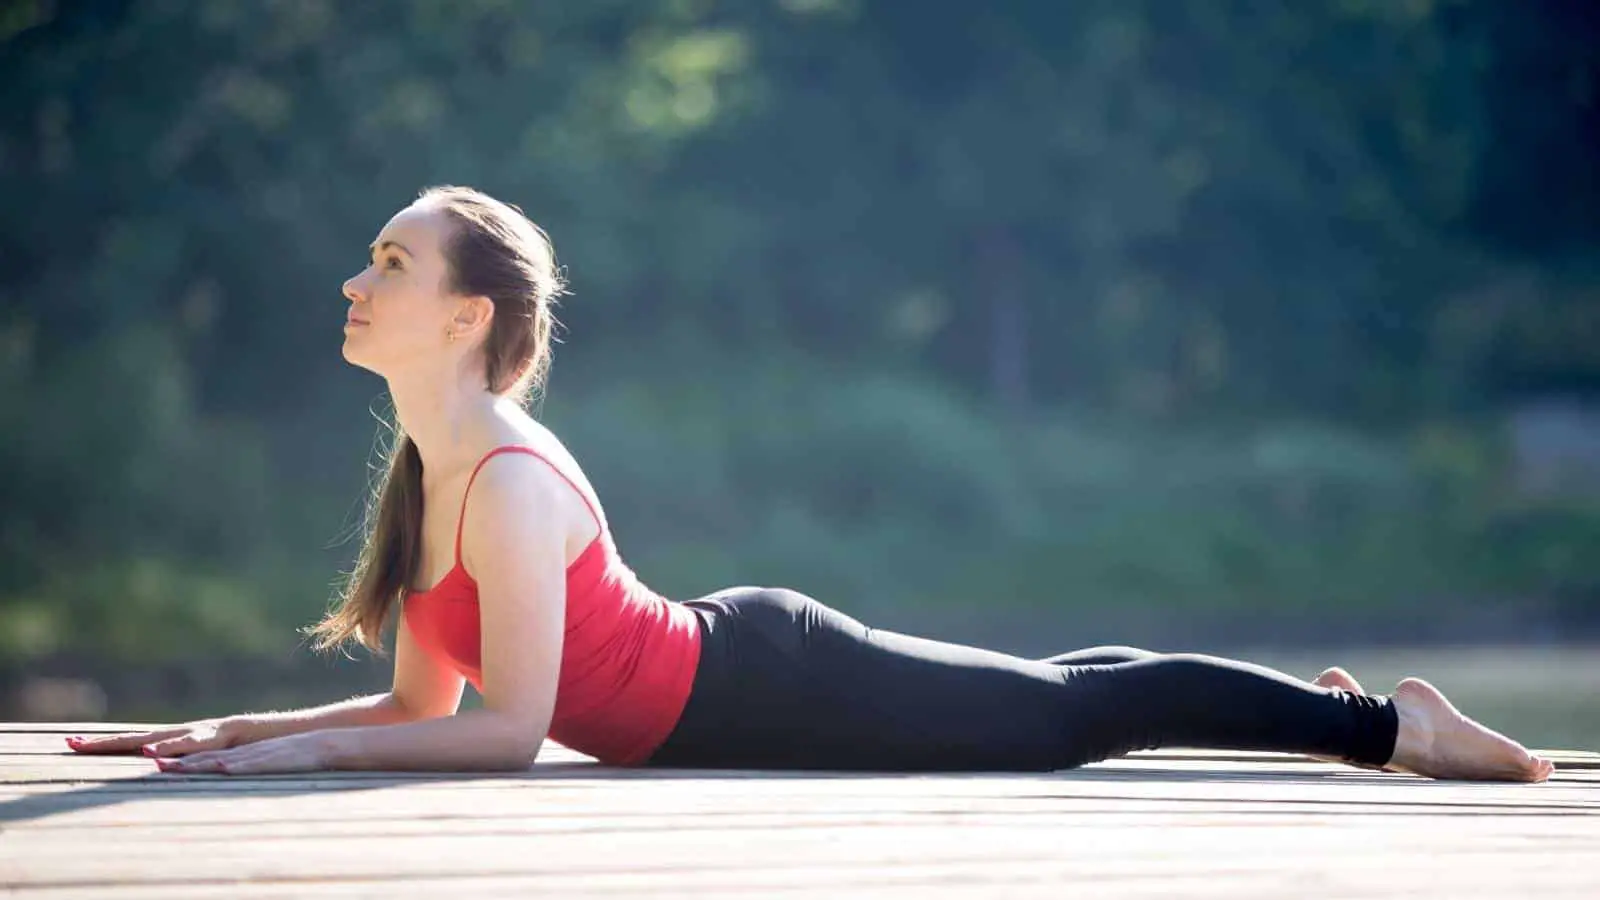
Similar poses to the Sphinx Pose include the Cobra Pose, Baby Cobra Pose, and Upward-Facing Dog, all mild backbends usually incorporated in a vinyasa flow. However, these mild backbends usually require you to add pressure to the wrists, which can cause injuries and make it difficult for beginners to harness these poses’ benefits.
For example, on your vinyasa, you might have the chance to perform several Upward-Facing Dog and Baby Cobra Poses, which can help you strengthen your back and make it more flexible.
However, if you are struggling to put weight on your wrists, you might have to skip these poses altogether to avoid injuries. In this case, the Sphinx Pose can help you work on your backbend while also protecting your wrists.
Benefits of Practicing the Sphinx Pose
Whether you practice the Sphinx Pose once or multiple times within your vinyasa, it is crucial not to skip it, especially if you are working towards increased spine flexibility.
Some of the benefits of introducing the Sphinx Pose into your practice include:
- Strengthens the spine and shoulders: While your forearms help you prop your torso upwards, the muscles of your shoulders and spine will work to allow for the extension and backbend. When repeated several times, this can strengthen these muscles.
- Stretches the torso: When in Sphinx Pose, your torso will be in extension, which means that you can stretch and open your abdomen, hips, chest, lungs, and heart space.
- Strengthens the glutes: In Sphinx Pose, it is crucial to firm your buttocks to protect the lower back. These contractions can help you strengthen the glutes.
The benefits of the Sphinx Pose go far beyond the physical advantages. Indeed, this pose allows you to relieve stress and fight the tension that commonly accumulates in the neck and shoulder. For this, it is essential to follow your breath when practicing the Sphinx Pose.
Introducing the Sphinx Pose in Your Vinyasa
You can practice the Sphinx Pose once or several times. You can introduce it in your vinyasa instead of the Upward Facing Dog or Baby Cobra. You might also decide to use it as a gentle backbend that can help you strengthen the glutes.
Unfortunately, no one-size-fits-all formula allows you to know how many times you should introduce the Sphinx Pose in your practice. However, depending on what you want to achieve, you might opt to practice it once or several times.
Below, you can find two options to safely introduce Sphinx Pose into your yoga flow—or check this video to learn the proper alignment for Sphinx Pose:
Active Sphinx Pose for a Stronger Body
Active Sphinx Pose is a Sphinx Pose version that encourages you to keep your body strong and firm during the gentle backbend. Active Sphinx Pose is an excellent option if you wish to strengthen your arms, shoulders, back muscles, and glutes.
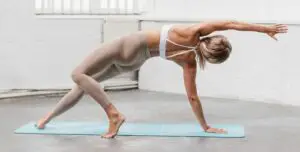
When practicing this pose, you will need to tuck your toes and keep your abs, legs, and torso engaged. For a better result, you should consider making it part of a vinyasa flow that goes from Dolphin Pose to Plank, to Sphinx Pose, and back to Dolphin.
This sequence is a valid alternative to the classic vinyasa that will bring you from Downward Dog to Chaturanga to Upward-Facing Dog. While both sequences can be beneficial, the first one is more suitable if you wish to strengthen your upper arms and take the pressure off the wrists.
Repeat the sequence up to 10 times to strengthen your whole body. Also, don’t forget to move in sync with your breath!
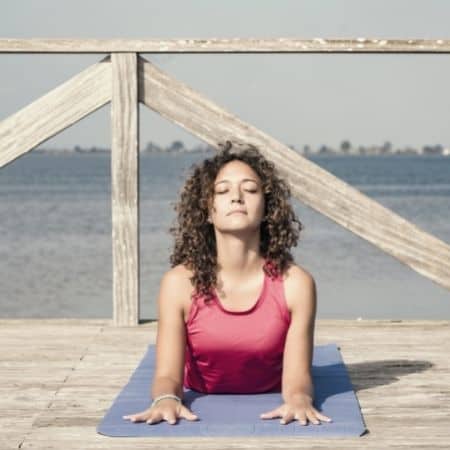
Passive Sphinx Pose for a Restful Posture
If you are looking for a more relaxing backbend to practice on your Yin Yoga sequence or to relax after a spine flexion, a passive Sphinx Pose might be more suitable for your needs.
You can practice this pose by keeping your glutes engaged in protecting your lower spine but relaxing the legs and shoulders. You can add gentle neck circles to release the neck muscles and look past your shoulders to increase neck mobility.
When practicing passive Sphinx Pose, you will release your forehead on yoga mat while moving with your breath. For every inhale, you will lift your chest, and for every exhale, you will release your head on the mat. This option allows you to release tension while also strengthening the spine.
How Long Should You Hold the Sphinx Pose?
You can hold the Sphinx Pose for several breaths, ideally between 5 and 10. However, this will depend on what you are looking to obtain out of the pose.
If you practice active Sphinx Pose to strengthen your back and leg muscles, you will couple it with Dolphin Pose and hold it for longer. Instead, for a more relaxing pose, heart opener, or gentle backbend, you might opt to remain in the position for a few breath cycles and not flowing in and out of the pose.
Additionally, it is essential to keep in mind what your limits are. If you are not new to yoga, you might be able to sustain a backbend for longer—some can hold it for as long as 20 minutes.
However, suppose you are new to it or recovering from an injury. In that case, you should listen to your body and avoid pushing limits—especially when the pose in consideration is a backbend.
How To Practice the Sphinx Pose Safely
The Sphinx Pose is not a particularly demanding pose, and, in most cases, it is accessible for beginners. However, it is essential to remember that it does involve a backbend, and it is crucial to take some precautions to avoid injuries or strains.
- Warm-up your muscles. Generally, you should avoid practicing backbends at the beginning of your practice. Instead, opt to place your Sphinx Pose towards the end of it, after having exercised your back, glutes, and leg muscles.
- Engage the core. Engaging the core allows you to protect the spine and keep the right alignment. While you won’t need to contract the abs so much on a passive Sphinx Pose, it is always recommendable to draw your low ribs in and move the pelvic muscles upwards.
- Keep your glutes firm. Firming your glutes is the most crucial aspect to consider when practicing the Sphinx Pose. While you should not be clenching them, it is vital to keep them active and engaged to lift some pressure off the lower back.
Conclusion
Introducing the Sphinx Pose into your practice is an excellent way to strengthen your spine and open your heart’s space while keeping pressure off the wrists. You can practice the Sphinx Pose 5-10 times and hold it for up to 10 breaths if that feels comfortable.
You can also practice active or passive Sphinx Pose, which might make a difference in the number of times you’ll repeat the movement. If you are looking for a strengthening pose, you’ll repeat it ten or more times, while, as a relaxing pose, it can be practiced just once or twice to be effective.