Forward bends are a part of any full-body yoga routine and target various muscles, including the hamstrings, glutes, and lower back. And as you work on your forward bend, your body opens up, allowing you to deepen the stretch and engage more muscles.
Here are 9 tips for improving your forward bend in yoga:
- Warm-up with cat-cow.
- Do a downward dog.
- Bend halfway first.
- Push with your legs.
- Don’t crane your neck.
- Avoid locking your knees.
- Stretch forward and down.
- Keep your chest open.
- Pay attention to your feet.
Before we dive in, you should know there are two main types of forward bends to be aware of: the standing forward bend (Uttanasana) and the seated forward bend (Paschimottanasana). This article will focus on the basic standing and sitting forward bends.
Warm Up With Cat-Cow
The movement of the pelvis is crucial during a forward bend, which is why it’s a good idea to warm up this zone before attempting it. Feeling your pelvic movements before you stretch will help you sink into the pose.
Cat-cow is good for many different things, so it’s no surprise it’s used in all kinds of yoga practices. One of its benefits is that it stretches your hip muscles, making it an excellent choice for a warm-up before doing a forward bend. Here’s a quick refresher on how to do cat-cow:
- Go down on all fours, with hands under your shoulders and knees under your hipbones.
- As you inhale, lift your chest and sit bones to enter cat pose. Gently push your lower back towards the floor. Try to make your shoulder blades touch.
- As you exhale, round your back to enter cat pose. Focus on tucking your tailbone and drawing your navel up your spine. Drop your head and use your abdominal muscles.
- Go back to cow pose in your next inhalation. Repeat these movements a few times until your pelvis feels warmed up and engaged.
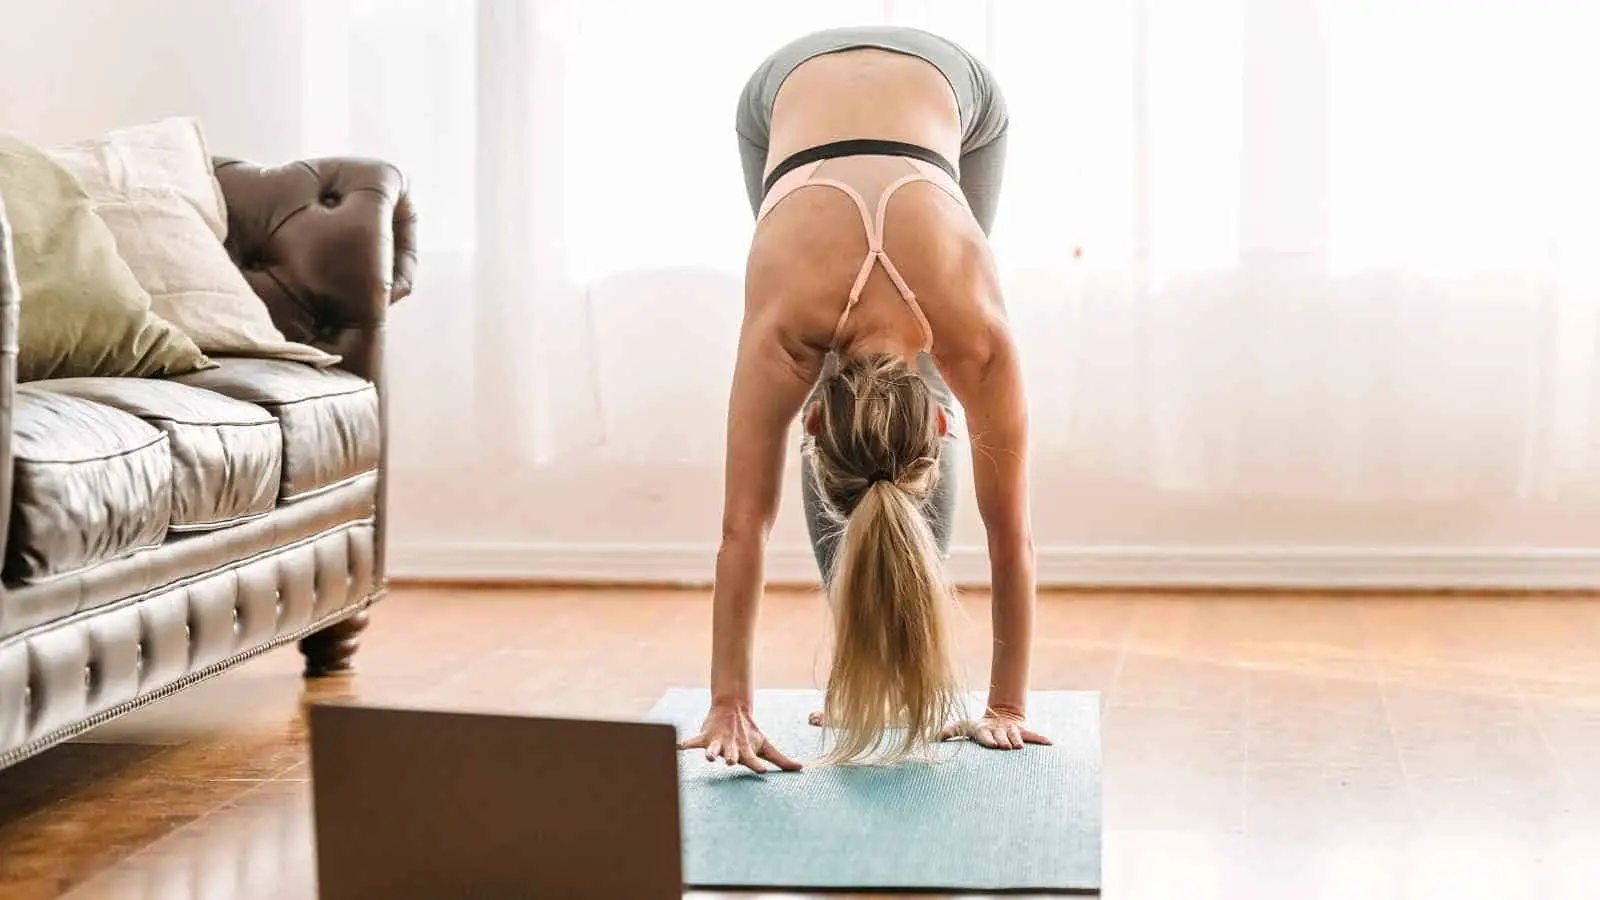
Do a Downward Dog
Working on your downward dog (Adho Mukha Shvanasana) is an effective way to improve your forward bends.
Downward dog isn’t as demanding on the hamstrings and can help release tension before you attempt the forward bend, making the second posture easier to perform. Here’s how to do a proper downward dog:
- Go down on all fours. Make sure your wrists sit under your shoulders and your knees are aligned with your hipbones.
- Tuck your toes and lift your knees. Make this movement on an exhalation.
- Press your hands and extend through your spine. Pull your hips toward the sky while you push with your hands against the floor. Energize your arms to stabilize your body.
When doing downward dog, hold it for at least five breaths. You’ll feel your muscles start to relax.
If you want a visual demonstration, check out this video on YouTube.
Bend Halfway First
Now, the moment you’ve been waiting for – the forward bend!
A common mistake most people make when doing the forward bend is simply reaching down as quickly as possible. Posture, alignment, and stability are all sacrificed under the impression of a ‘deeper’ stretch.
However, as with most yoga asanas, proper posture is crucial and even more important than deepening the stretch. Even if you can’t go too deep with a posture, the correct alignment will help you experience the benefits of the asana to a higher degree.
Follow these steps to ensure you’re doing standing forward bend correctly:
- Place your hands on your hips as you stand straight.
- Take a deep breath in and bend halfway till the upper half of your body is in a straight line with your hips and parallel to the ground.
- Ensure your spine is straight as you bend to prevent misalignment.
- When you get to the halfway bend, breathe out and take a moment to stabilize yourself by feeling your legs pressing into the ground.
- Take another deep breath and bend forward, coming into the forward bend.
If you’re performing the seated forward bend, you can follow these steps to make sure you’re correctly aligned.
- When sitting with your legs out in front of you, take a deep breath and raise your arms straight above your head.
- Reach up as much as you can. This will help you lengthen out your spine, allowing you to perform a deeper stretch.
- Take a moment to breathe in this pose.
- Take another deep breath in and bend forward, resting your hands on your legs where it’s comfortable.
Bending halfway allows your spine to come into the correct alignment, ensuring you’re properly positioned before you enter into the more intense forward bend.
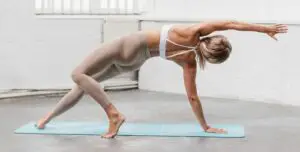
Push With Your Legs
When performing a standing forward bend, most people are so focused on their alignment and the upper body that they forget to engage their legs. Without bringing your legs into the stretch, you won’t get the most out of it; in fact, you may even get injured.
As you fold into a standing forward bend, plant your feet firmly into the ground and push the ground away from you without lifting the soles of your feet. By pressing the floor, you will engage your thigh muscles or quadriceps. This will take the load off your hamstrings, giving them a more intense stretch.
When performing a seated forward bend, push your thighs towards the ground. Remember: the more you engage your quadriceps, the less tension on your hamstrings and the easier it is to stretch them out.
Don’t Crane Your Neck.
Many people see a forward bend and assume it’s about touching your toes. When they attempt the asana, their goal is to reach down and touch their toes in the quickest way possible.
You’ll notice people hyper-extending their fingers or making the typical ‘jerking’ motion towards their feet to deepen the stretch.
This is where people commonly make the mistake of craning their necks forward when they bend. This action might give the illusion that you’re deepening the stretch, but it’s actually throwing your spine out of alignment.
As you bend forward, your head should be straight and in line with your spine. When you deepen the stretch, keep your head and neck in relatively the same position. This will help keep your alignment on point.
This may feel uncomfortable or unnatural at first, but it’s key to doing the asana properly. Wait until the stretch has deepened considerably before you tilt your head.
Avoid Locking Your Knees
A forward bend is meant to stretch out and release any tension in the hamstrings. For this to happen, you need to straighten out your knees. This allows the hamstrings to be flexed so that they can be worked upon.
However, many people make a dangerous mistake while doing a standing forward bend: they push their knees backward and ‘lock’ them in position. Locking your knees can be pretty risky and lead to injury in the long term.
Instead of pushing your knees back, you can allow them to bend a little as you begin the forward bend and gently straighten them out as the stretch deepens. By slowly straightening out your knees, you can work on your hamstrings without harming the delicate muscles surrounding the area.
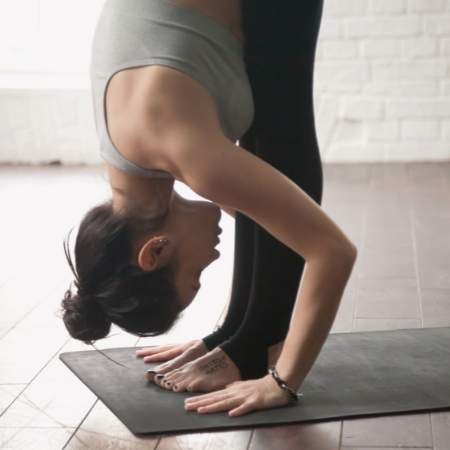
Stretch Forward and Down
Remember, it’s ‘forward,’ not ‘downward.’ This distinction is crucial to performing the stretch correctly.
When performing the standing forward bend, most people get to the halfway mark just fine. Their spines are usually in line and their chest is open.
However, when they deepen the stretch, they tend to reach downwards with their whole body, causing their spines to bend out of shape. Additionally, their sternum closes up and goes inward, and their necks crane towards the ground.
The most effective way to improve your standing forward bend is by going down in phases instead of trying to reach your limit right from the start. Here’s a breakdown of how to do it:
- Once you get to the halfway mark, take a moment to pause and observe your breath.
- Now, as you inhale, lengthen your spine, stretching ‘forward’ with your upper body.
- Go lower as you exhale and stop where it’s comfortable, even if that’s just an inch lower. Rest your hands on your legs.
- Again, inhale and straighten out as much as you can and deepen the stretch as you exhale. Rest your hands further down your legs when you go lower.
- Continue this pattern until you’ve gotten to a point where you feel an intense stretch on the hamstrings. You don’t want any unnatural pain but rather an intense yet mildly pleasurable stretch.
You can perform the seated version of this stretch in more or less the same way:

- Straighten your arms and reach up so your spine is in a straight line.
- As you inhale, reach upwards as far as you can.
- As you exhale, fold forward and place your hands on your legs where it’s comfortable.
- Repeat this pattern until you feel an intense stretch.
You can significantly deepen a forward bend by inhaling as you extend and exhaling as you fold. This tip will also ensure your body is in the proper alignment, pushing yourself to your limit without injury.
Note: It’s always better to find a comfortable yet intense stretch and hold yourself in that position rather than going too far and releasing the posture quickly.
Keep Your Chest Open
This has been partially covered in previous sections, but it’s worth mentioning by itself. That’s how important it is to keep your chest open when you perform a forward bend!
When you see a picture of a forward bend, you see a yogi with their hands wrapped around the back of their legs while their head touches their knees. It’s easy to assume they just bent forward and got there in a flash during the photoshoot.
The problem is that some people assume that’s how the sternum needs to be positioned during the stretch.
In truth, when you bend forward, your chest needs to be open so that your lungs can expand fully and allow air into the body. Opening your chest is one of the more challenging aspects of the forward bend, and it’s easy to mess up.
Breathing properly can be a challenge in poses where you do similar movements, as in child’s pose.
By allowing your chest to stay expanded, you boost oxygen intake, which helps you relax your muscles further and deepen the stretch.
If you have trouble opening your chest, consider doing some chest openers before attempting a forward bend.
Pay Attention to Your Feet
During a forward bend, your feet should be together and not too wide apart. This ensures you’re getting adequate support.
There’s some room for variation in this part of the forward bend. If you find your hips are tight or painfully locked, you can split your feet a little. This will open up the hips, allowing you to stretch deeper.
Experiment with feet placement and find what works for you. Placing your feet in the right spot will help you deepen your stretch.
You can apply this tip to your seated forward bend as well. Experiment by turning your feet away from each other, little by little, while pushing your thighs into the floor. Notice which position helps you sink deeper into the stretch.
Additional Tips
Once you get into forward bends, they can become a quick and effective way to refresh your body and mind. Here are a few additional tips to keep in mind when practicing this asana.
- Doing a few repetitions of Surya namaskar beforehand will help oxygenate and energize the body.
- Make sure you never do a forward bend after a meal. This stretch massages the organs, and you don’t want that happening on a full stomach.
Always perform the inverse of a forward bend when you complete the stretch. This helps balance out the body. Two of the best reverse stretches to a forward bend include fish pose (Matsyasana) and bridge pose (Setu Bandha Sarvangasana).